All about your Dyson WashG1™ wet cleaner
Welcome to your dedicated Owner's space. Here you'll find helpful set-up tips and maintenance advice, how-to videos, and your user manual.
Have you registered your machine?
Download the MyDyson™ app to register. Plus, fast access to tailored guides, 24/7 support, and roller replacement reminders.


Alternatively, you can register online here.
Dock set-up and charging
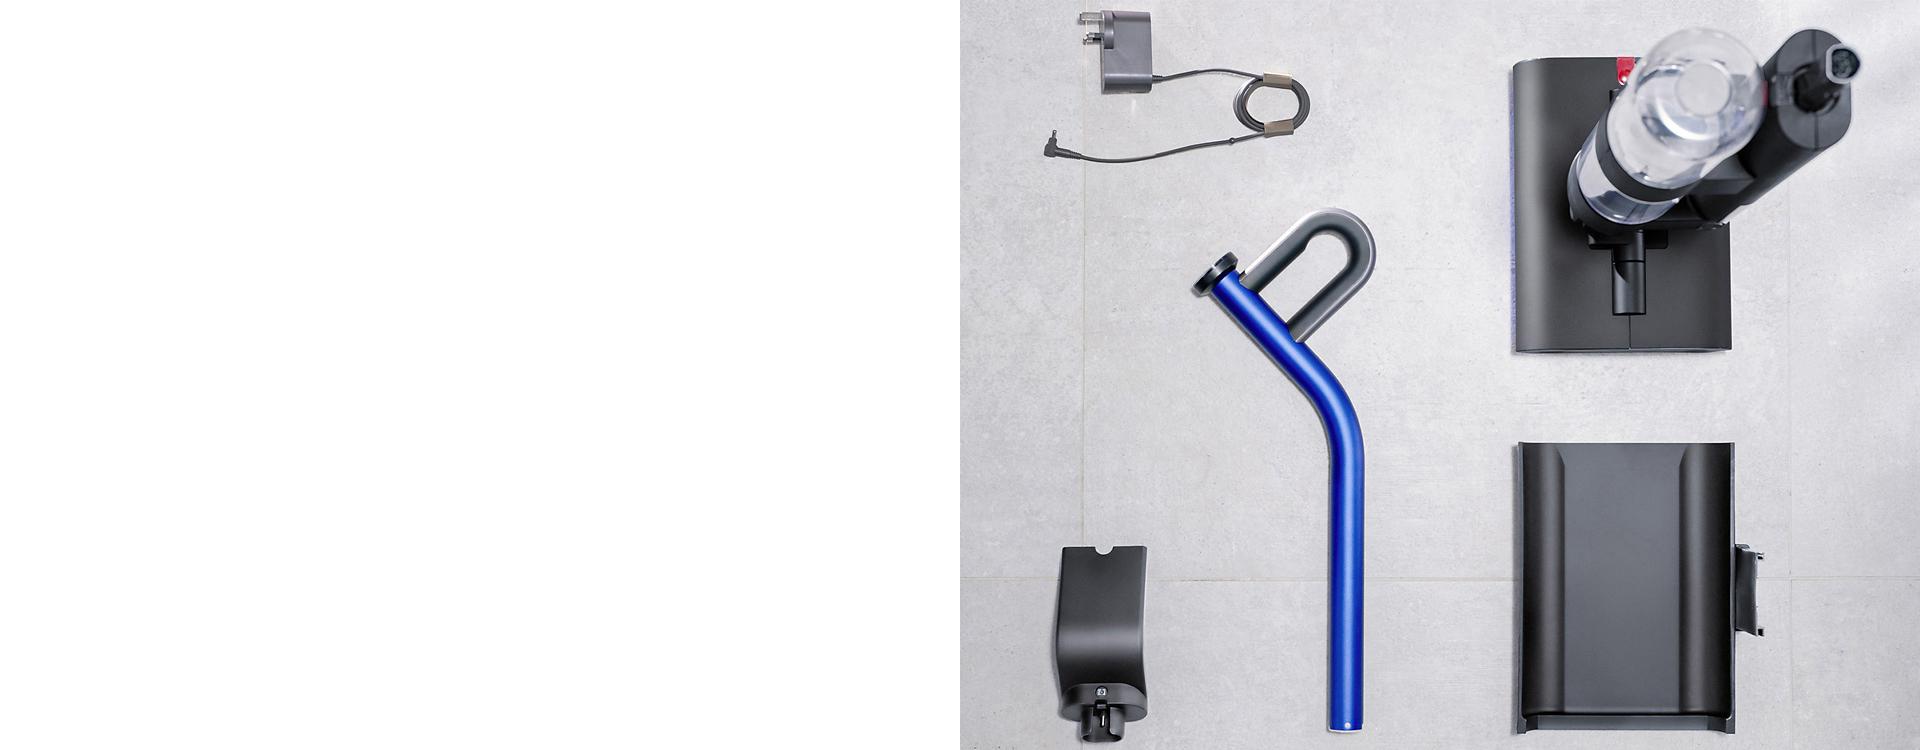
A docking station is included to store and charge your machine between cleans.
-
Setting up the floor dock
It's vital to set up your floor dock correctly to ensure the machine is sufficiently charged for each clean.
-
Charging your battery
It's important to fully charge the battery before first use to help future battery monitoring and run time.
Care after every clean
A few routine steps will help to maintain your machine's performance for years to come. Watch our video guides below.
Emptying the Dirty water tank and the Debris tray
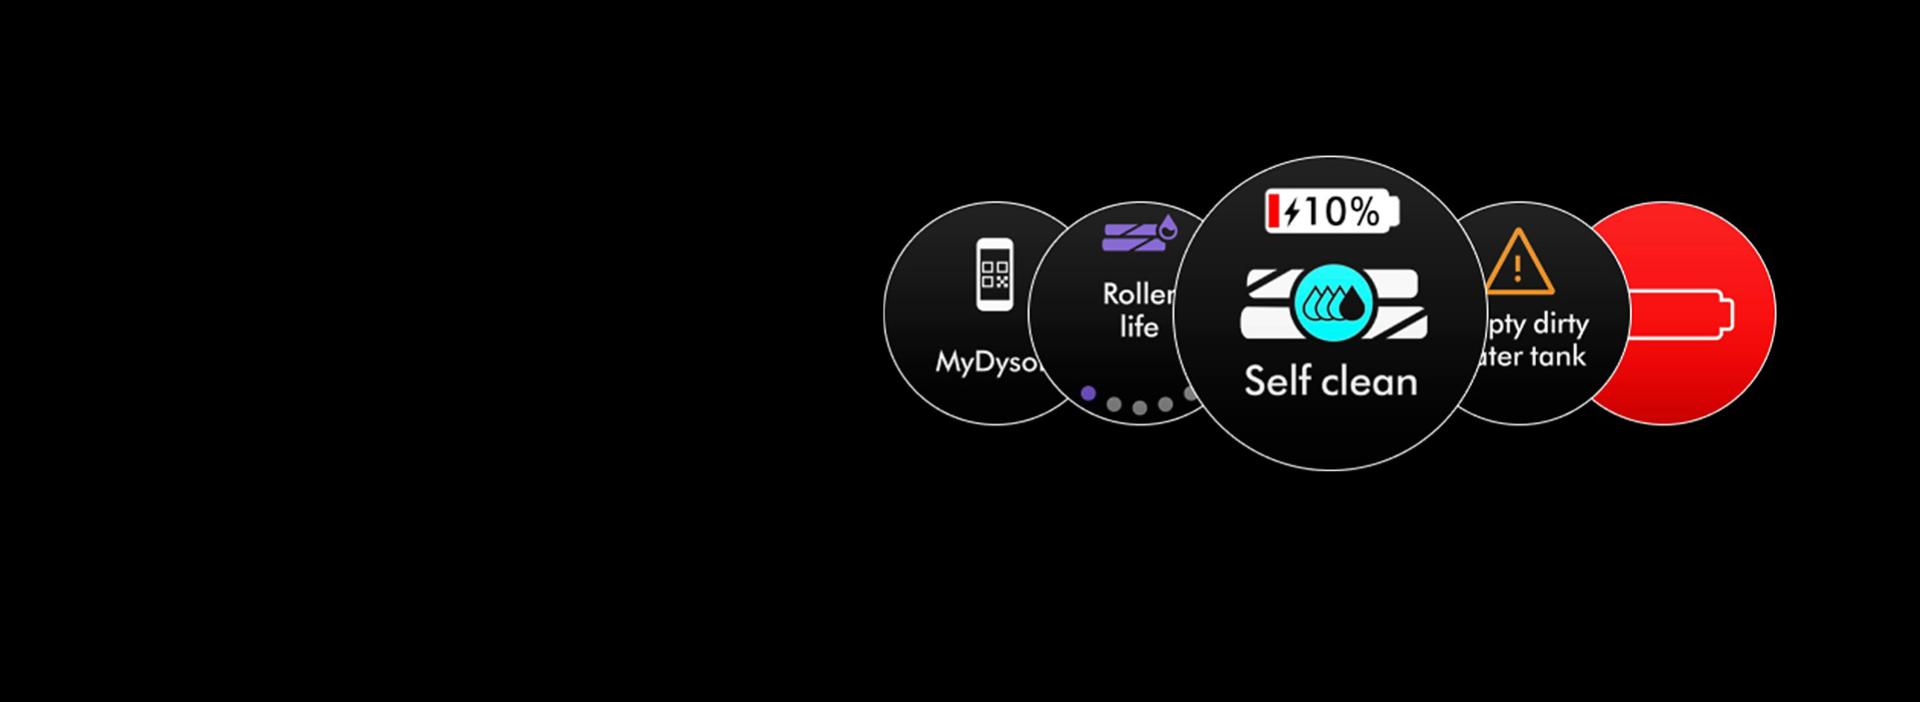
The LCD screen alerts you when the Dirty water tank is full. And our hygienic no-touch disposal lets you simply pour away the dirty water, then empty any Debris tray contents straight into the bin.

Deep cleaning and maintenance
Washing the water tanks
Regularly rinse both dirty and clean water tanks, and dry with a cloth. The smooth inner surfaces make cleaning easy and reduce dirt build-up.

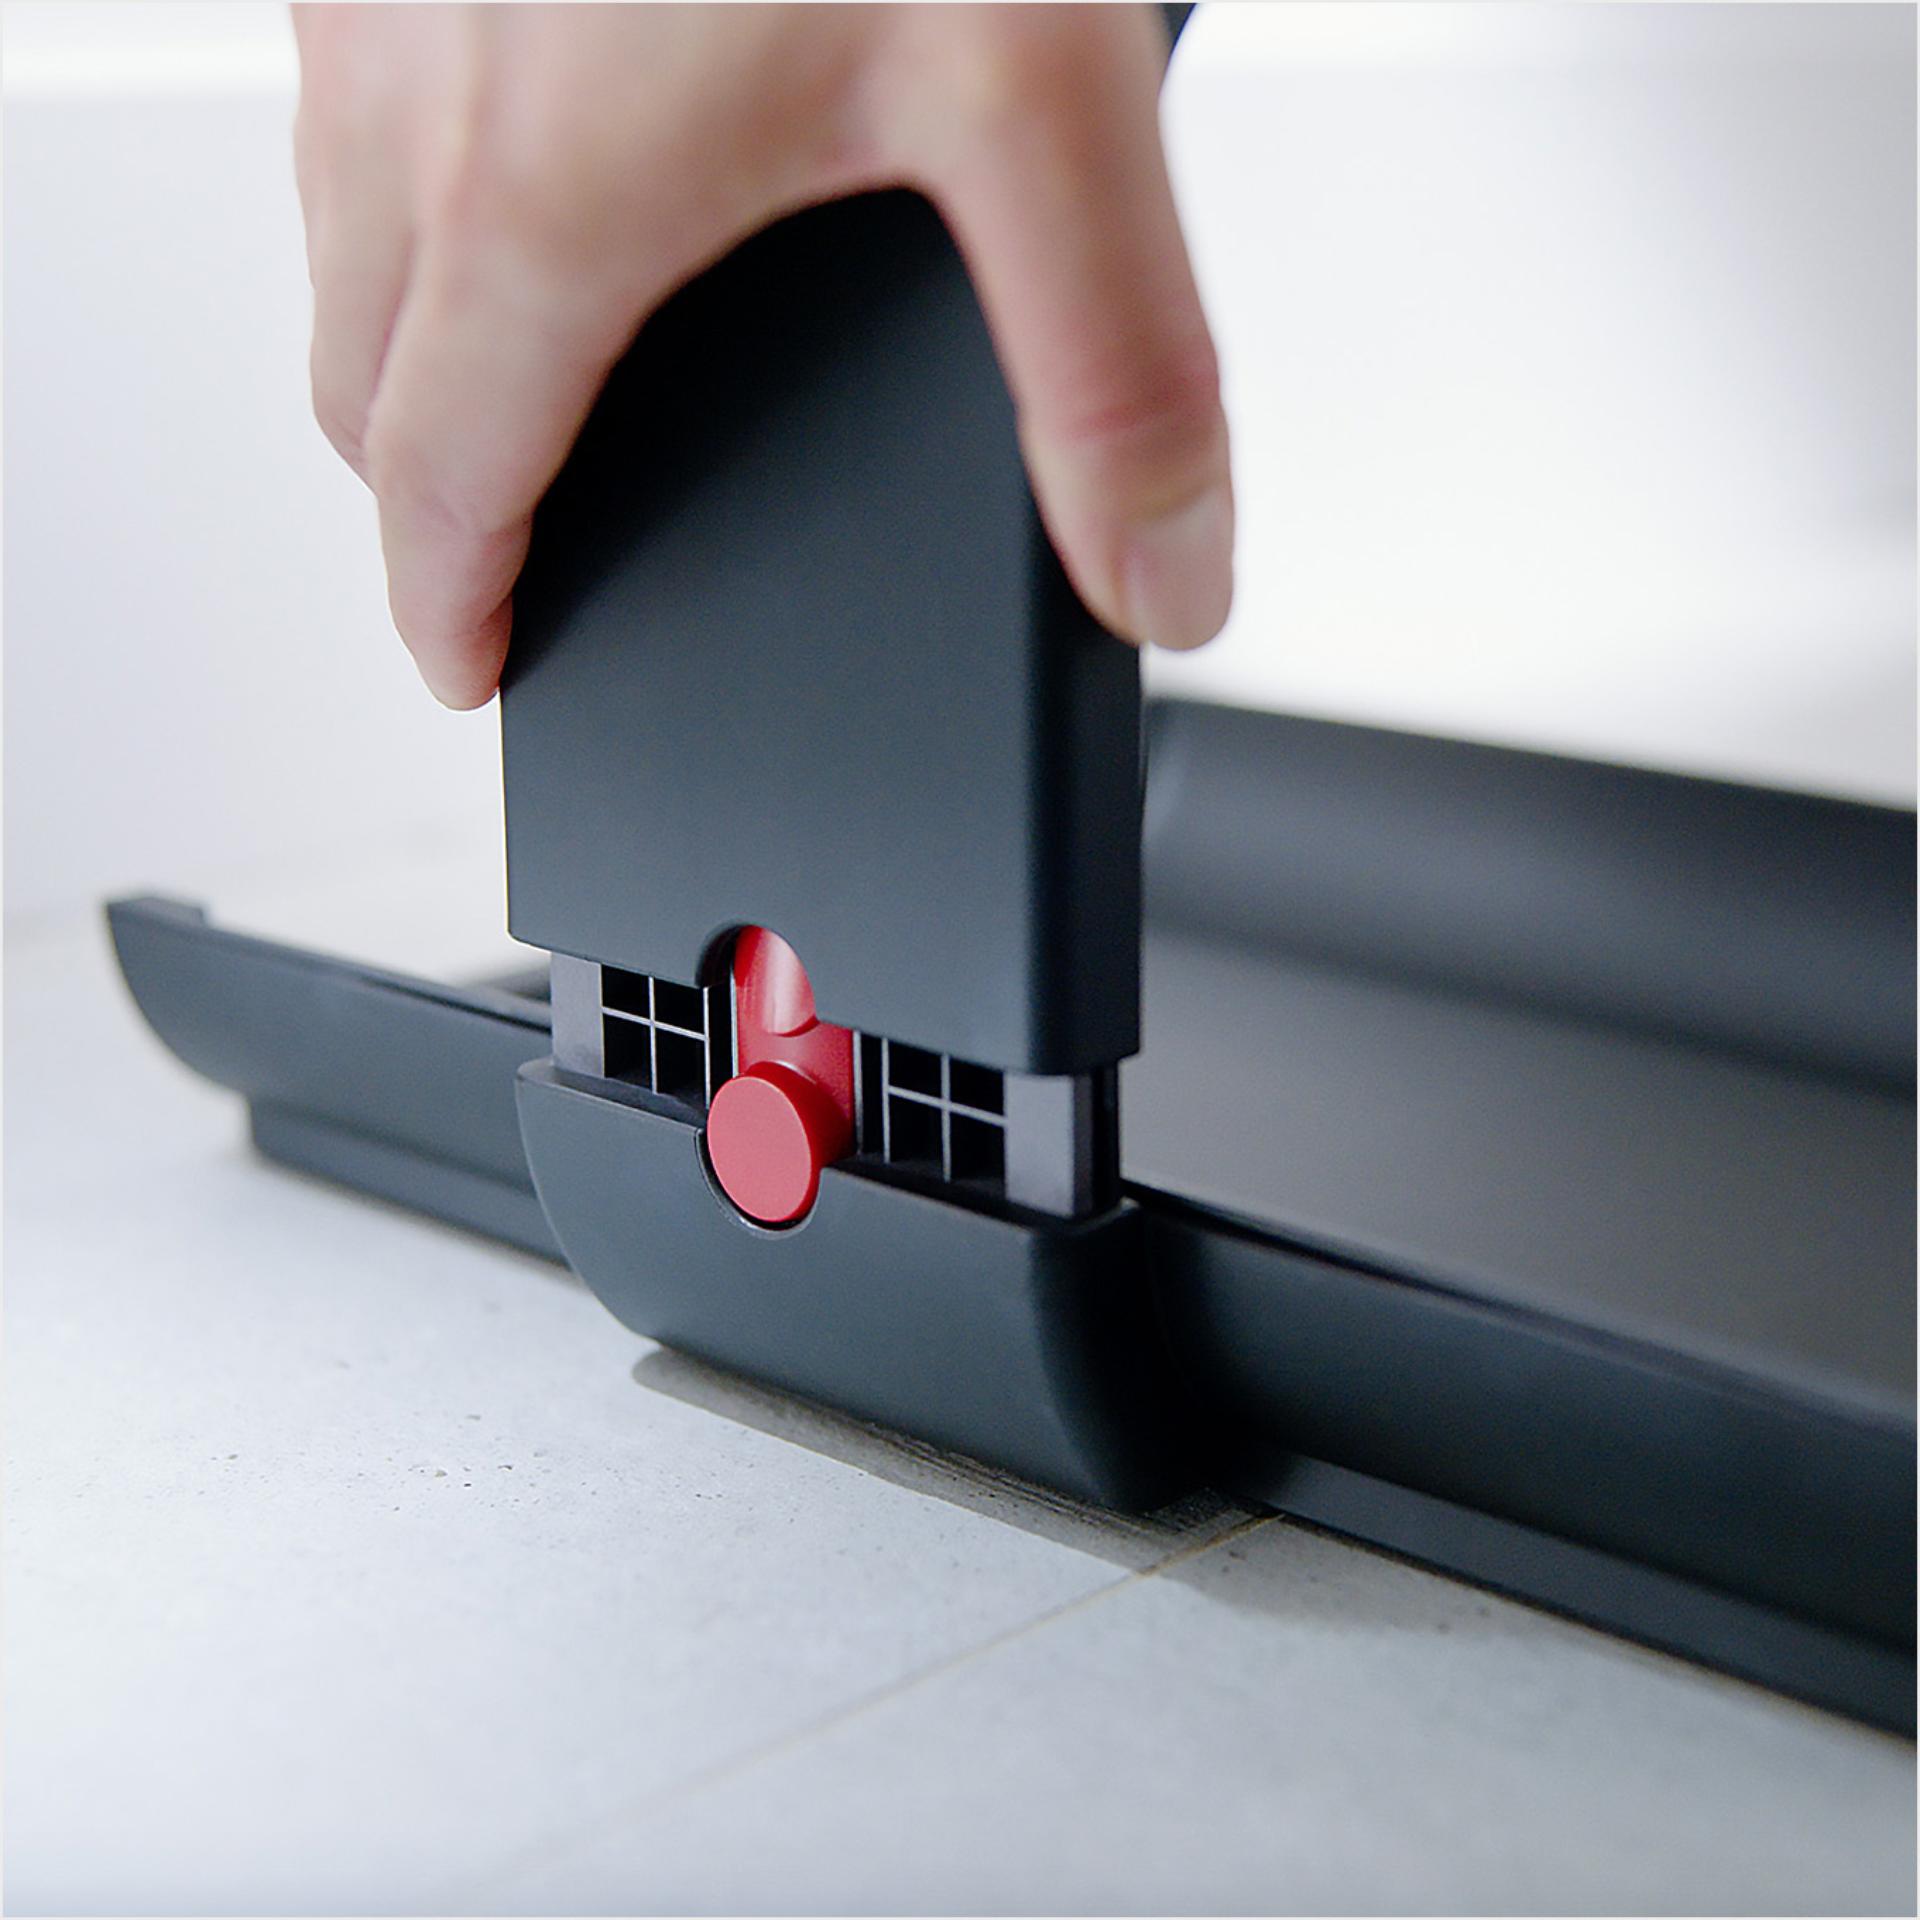
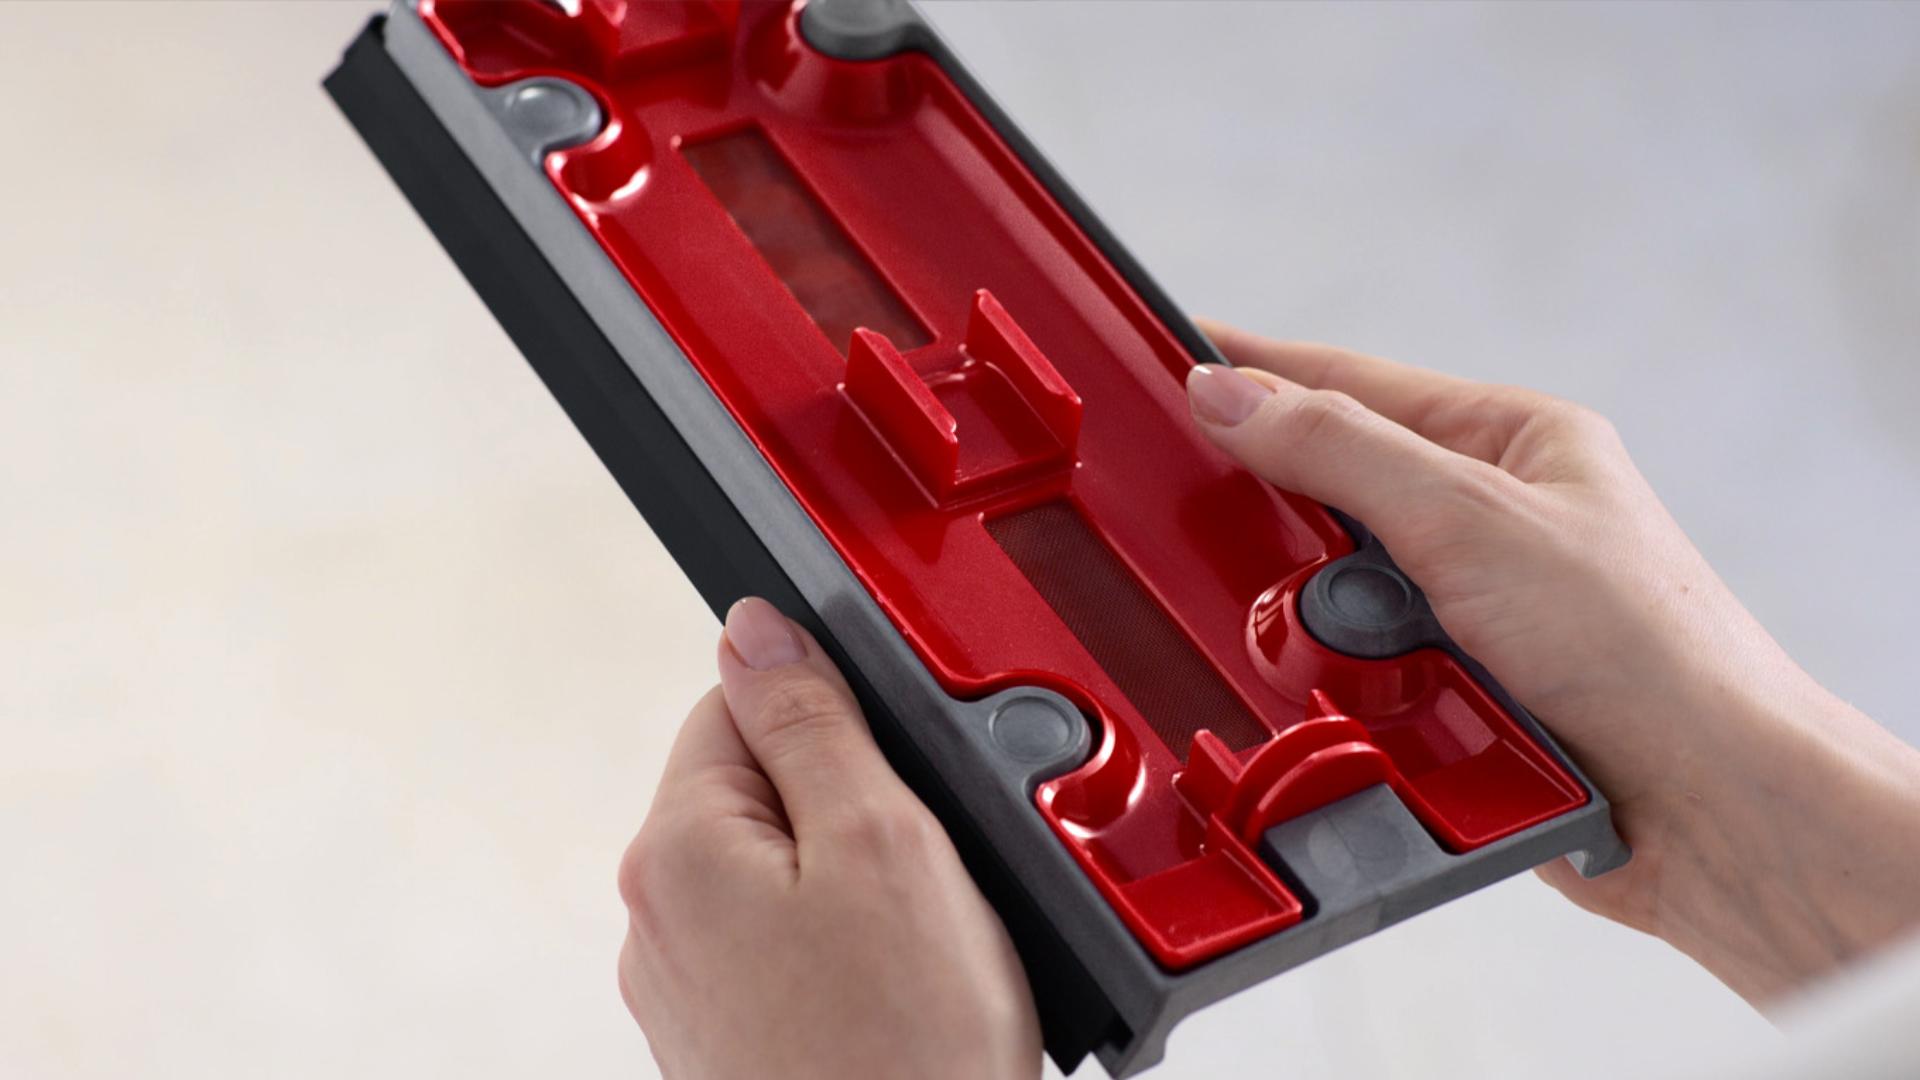
Cleaning the Debris tray
Stones or other small debris may become trapped. If this occurs, remove by following these simple steps.
And to remove any limescale, we recommend cleaning the filter mesh every six months.
-
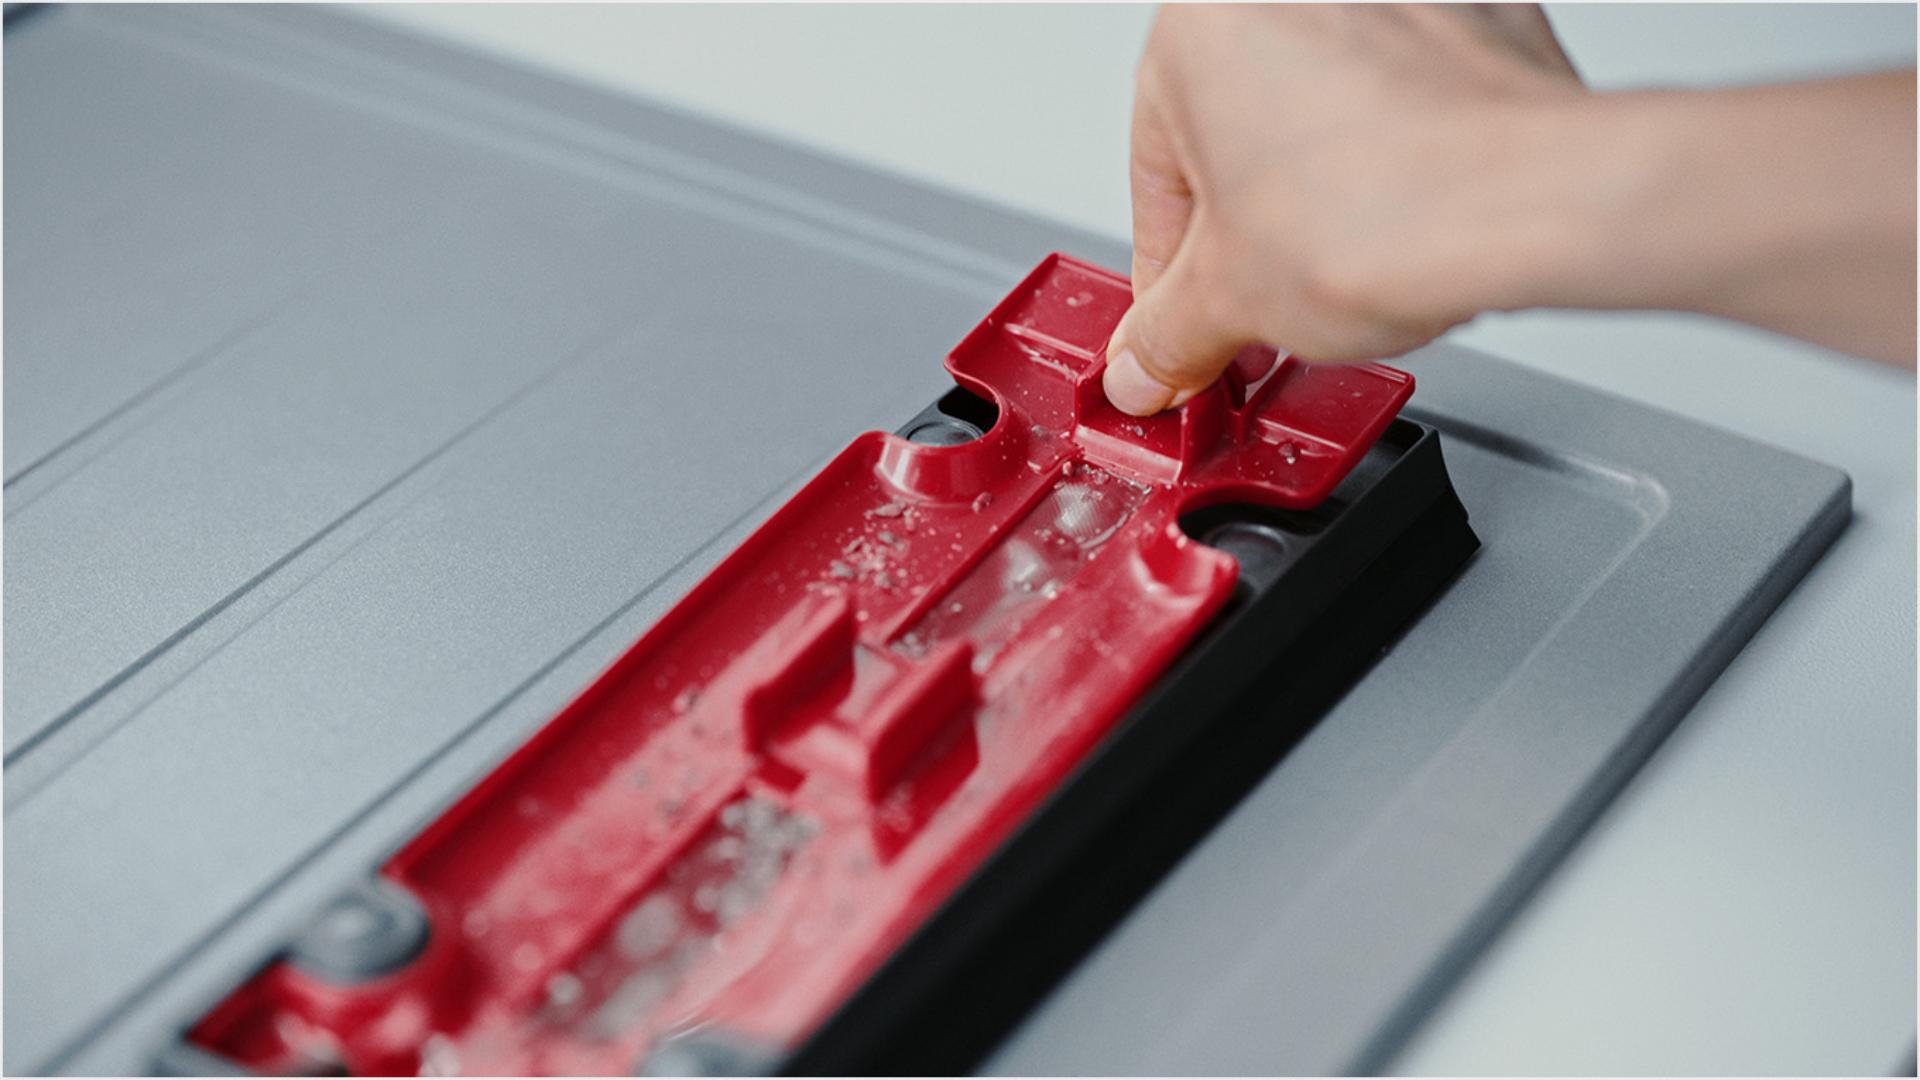
1. Remove the red inner section
Check for trapped debris in the small crevices on each side of the red surface, and remove.
-
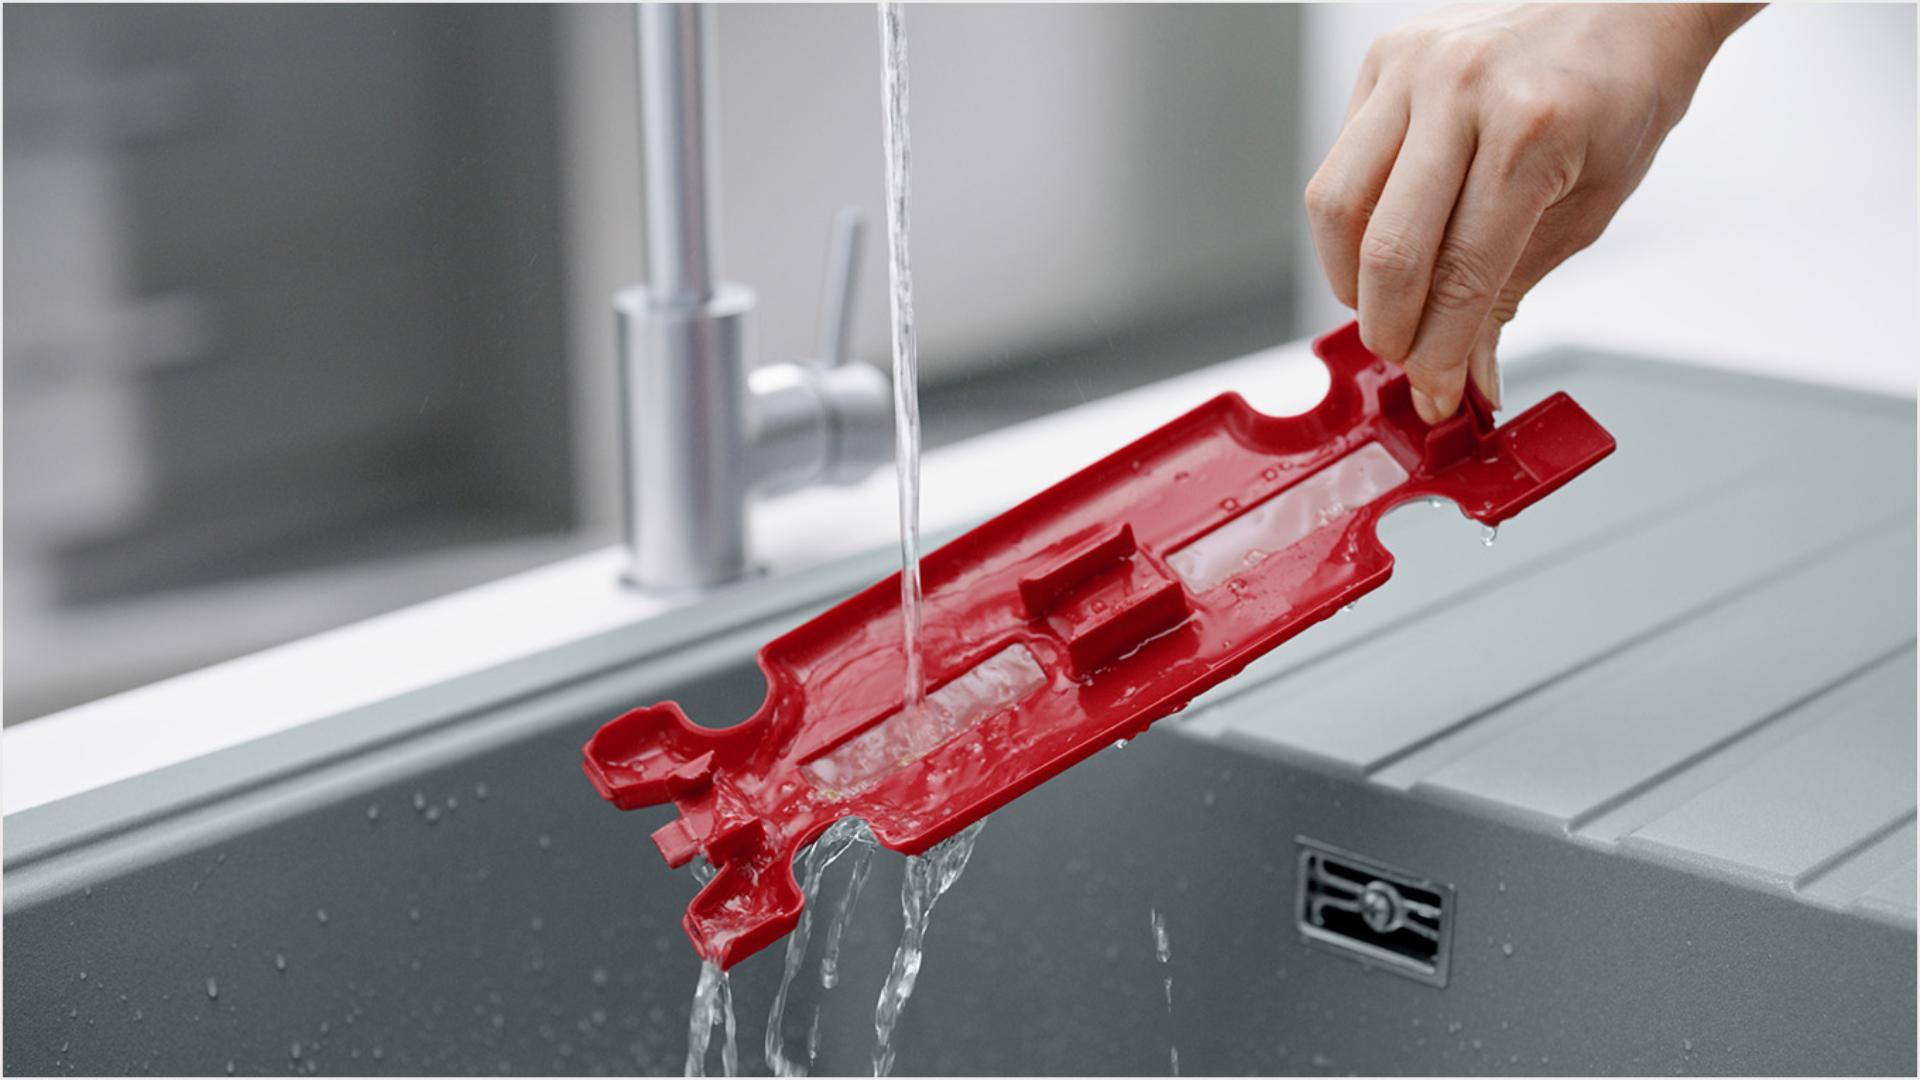
2. Rinse under a tap
After removing trapped debris, rinse both inner and outer parts of the Debris tray under a tap.
-
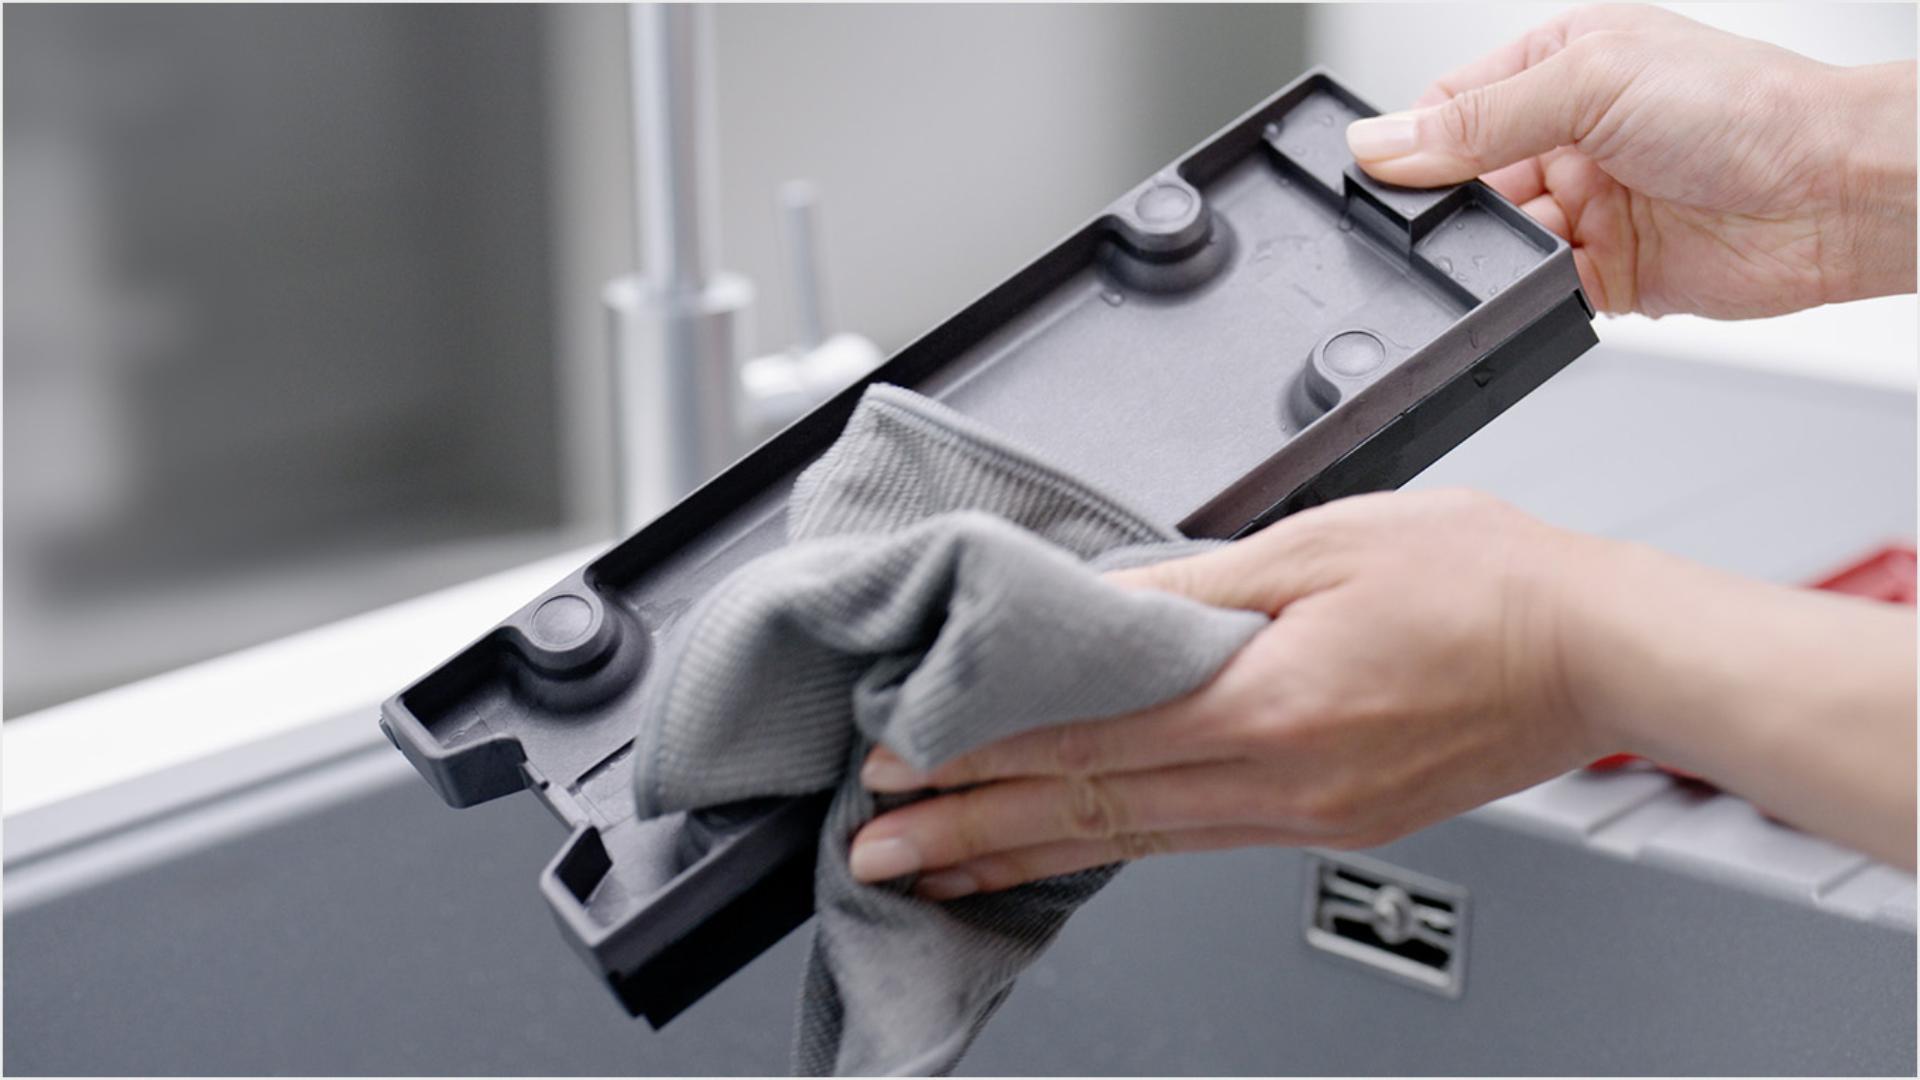
3. Dry thoroughly
Wipe both parts with a cloth to remove any remaining debris and excess water. Dry thoroughly before reassembling into the cleaner head.
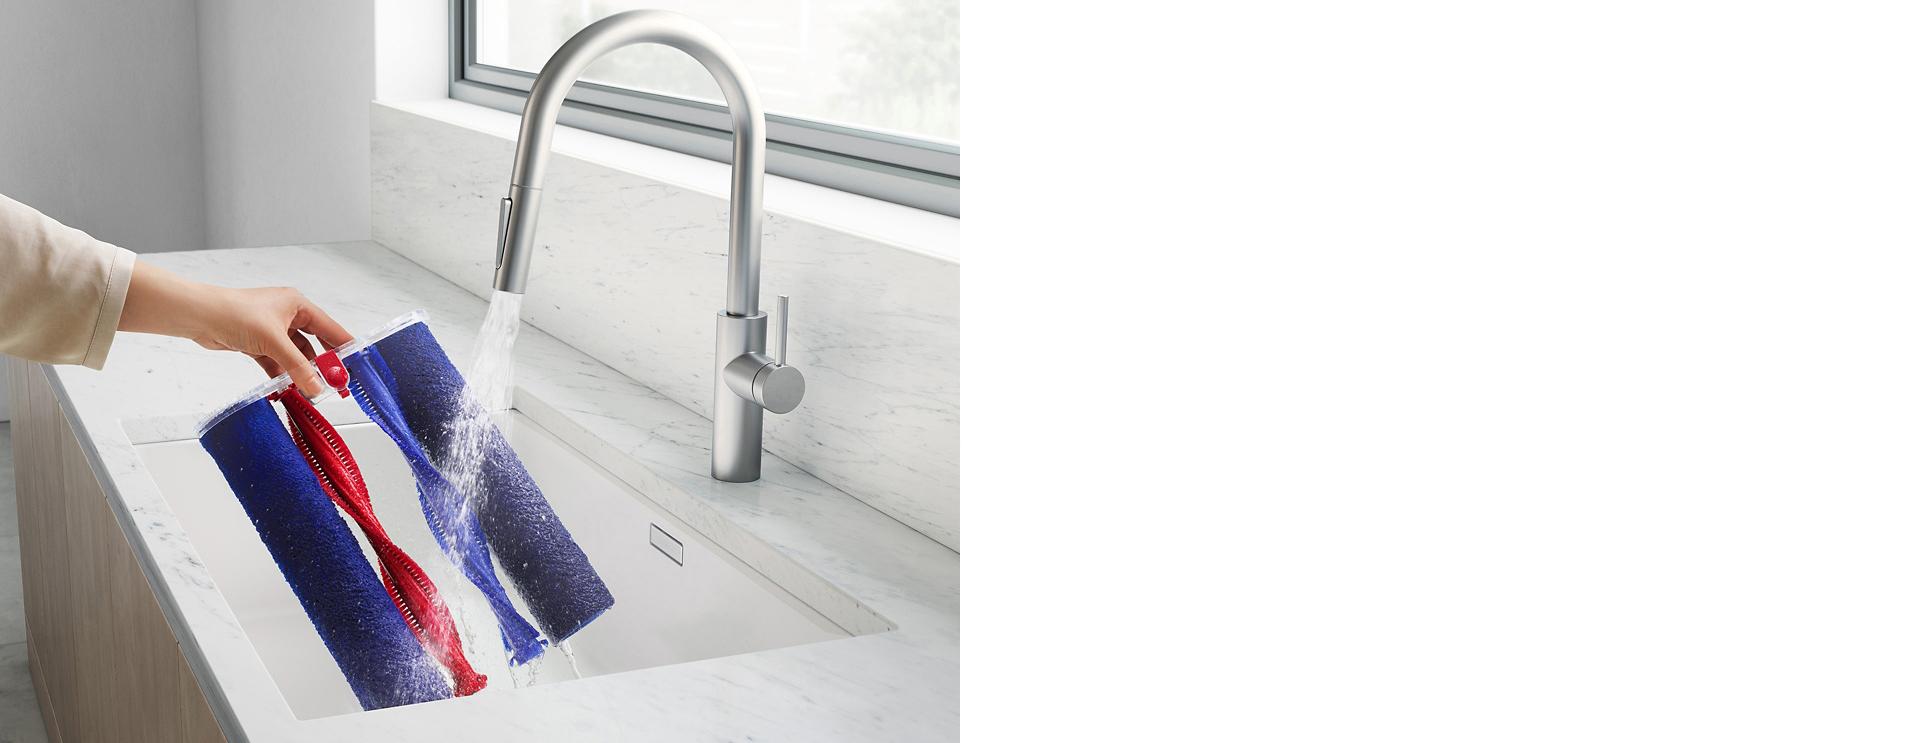
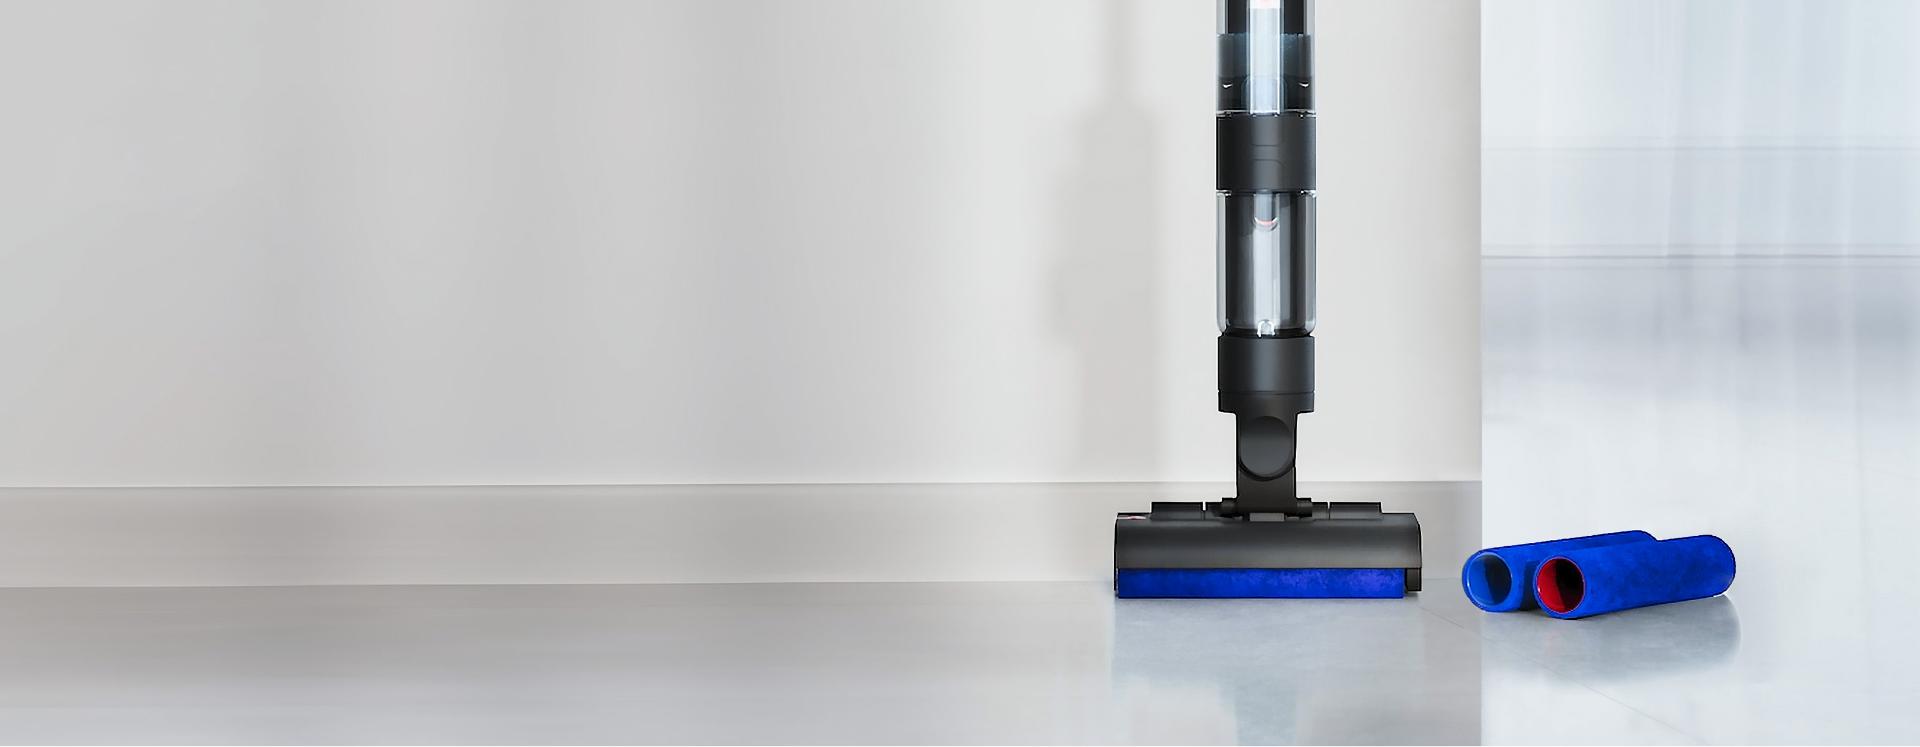
Replacing the microfibre rollers
Rollers last for around 25 hours, depending on usage. Check the rollers' lifetime counter on the LCD screen menu.
Additional Machine Support
-
How to replace the Debris tray rubber strips
-
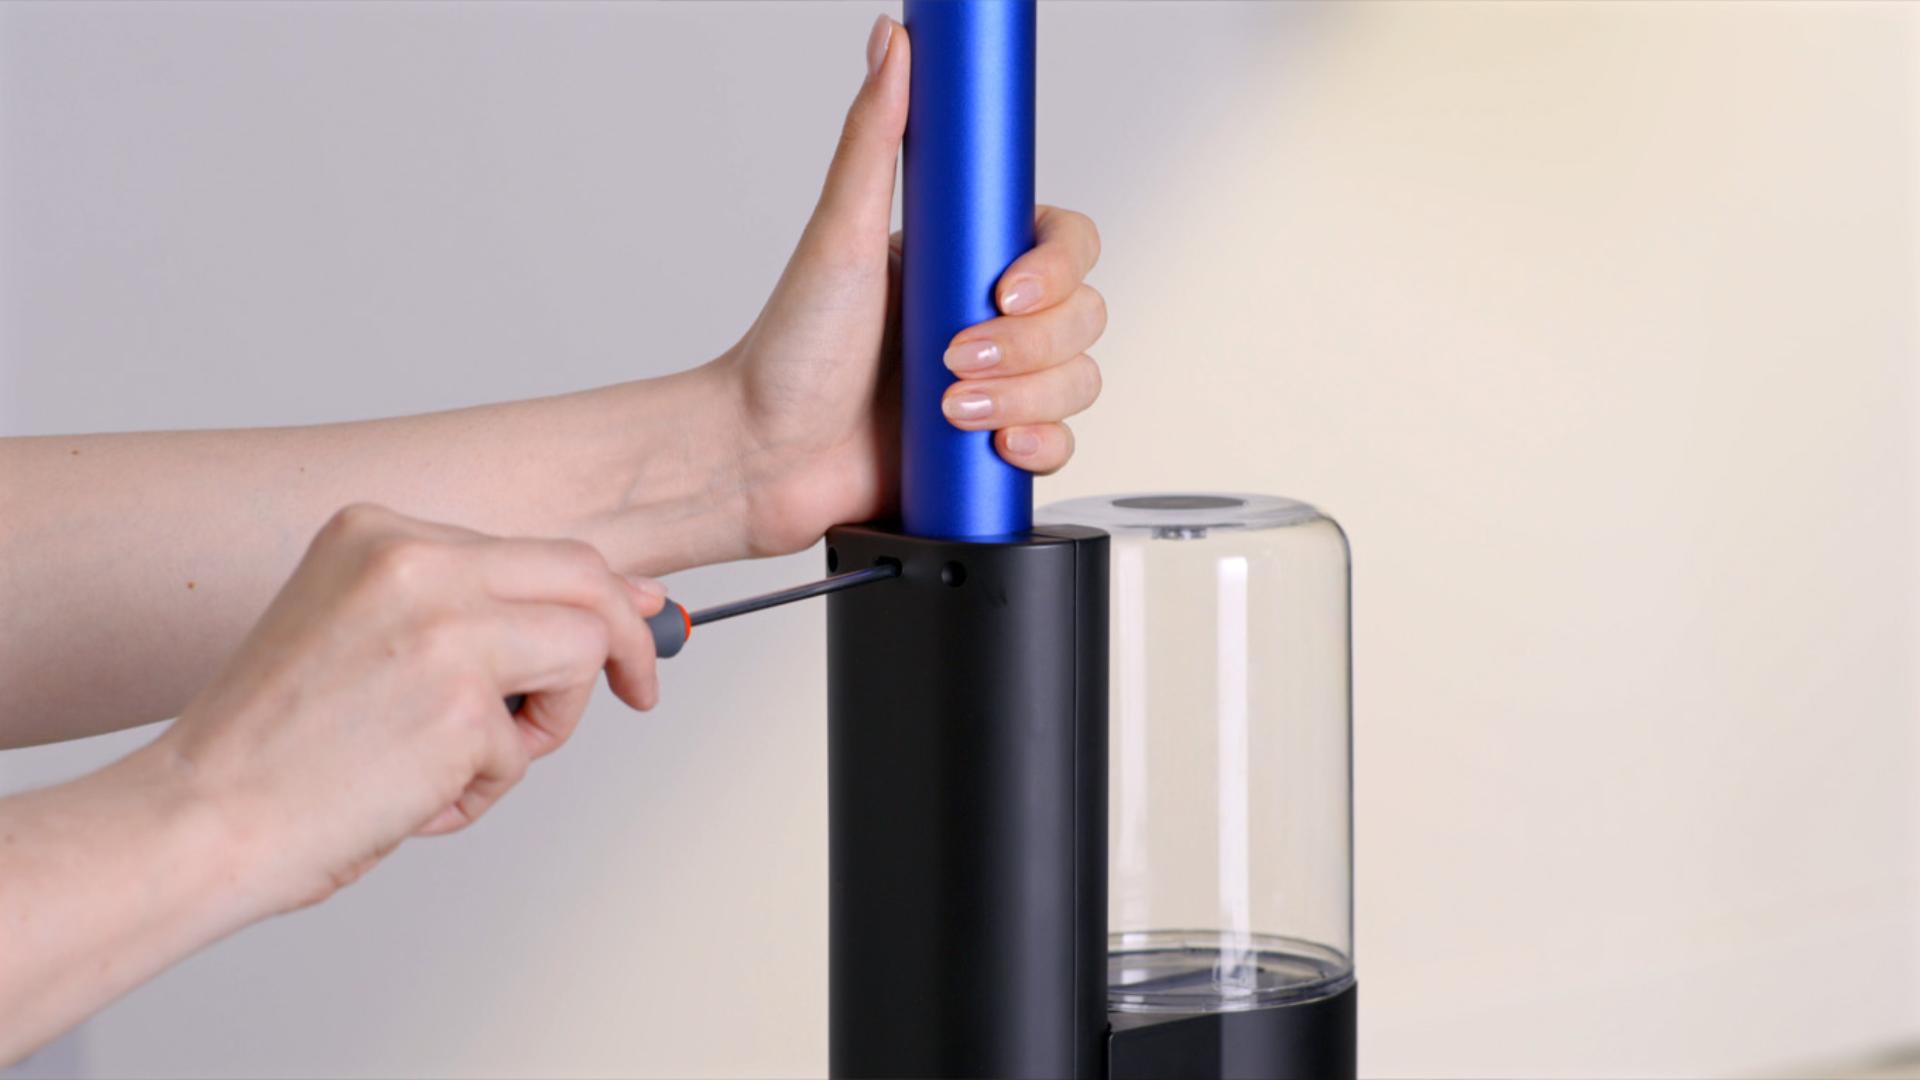
How to replace the handle
-
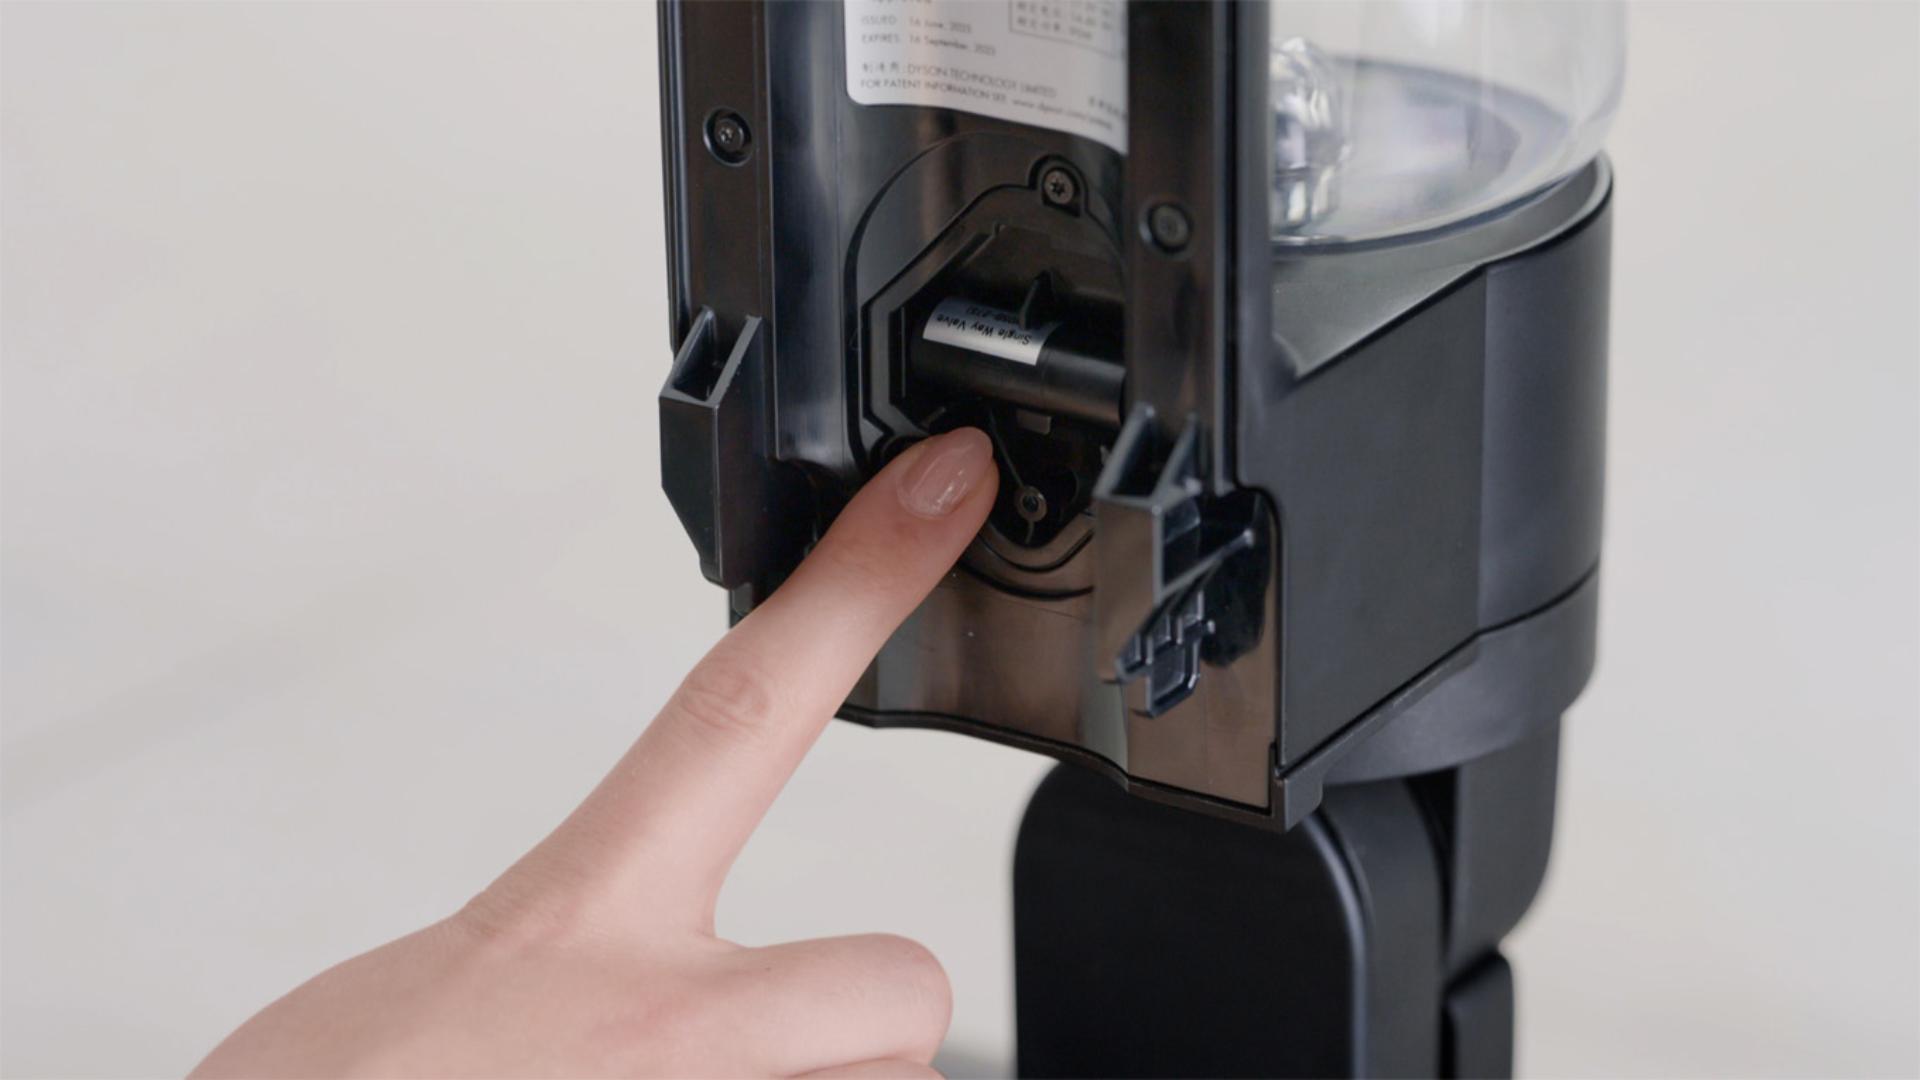
How to replace the Check valve and cover
Frequently asked questions
Dyson WashG1™ wet cleaner is Dyson’s first dedicated wet floor cleaner for hard floors, picking up both wet and dry debris.
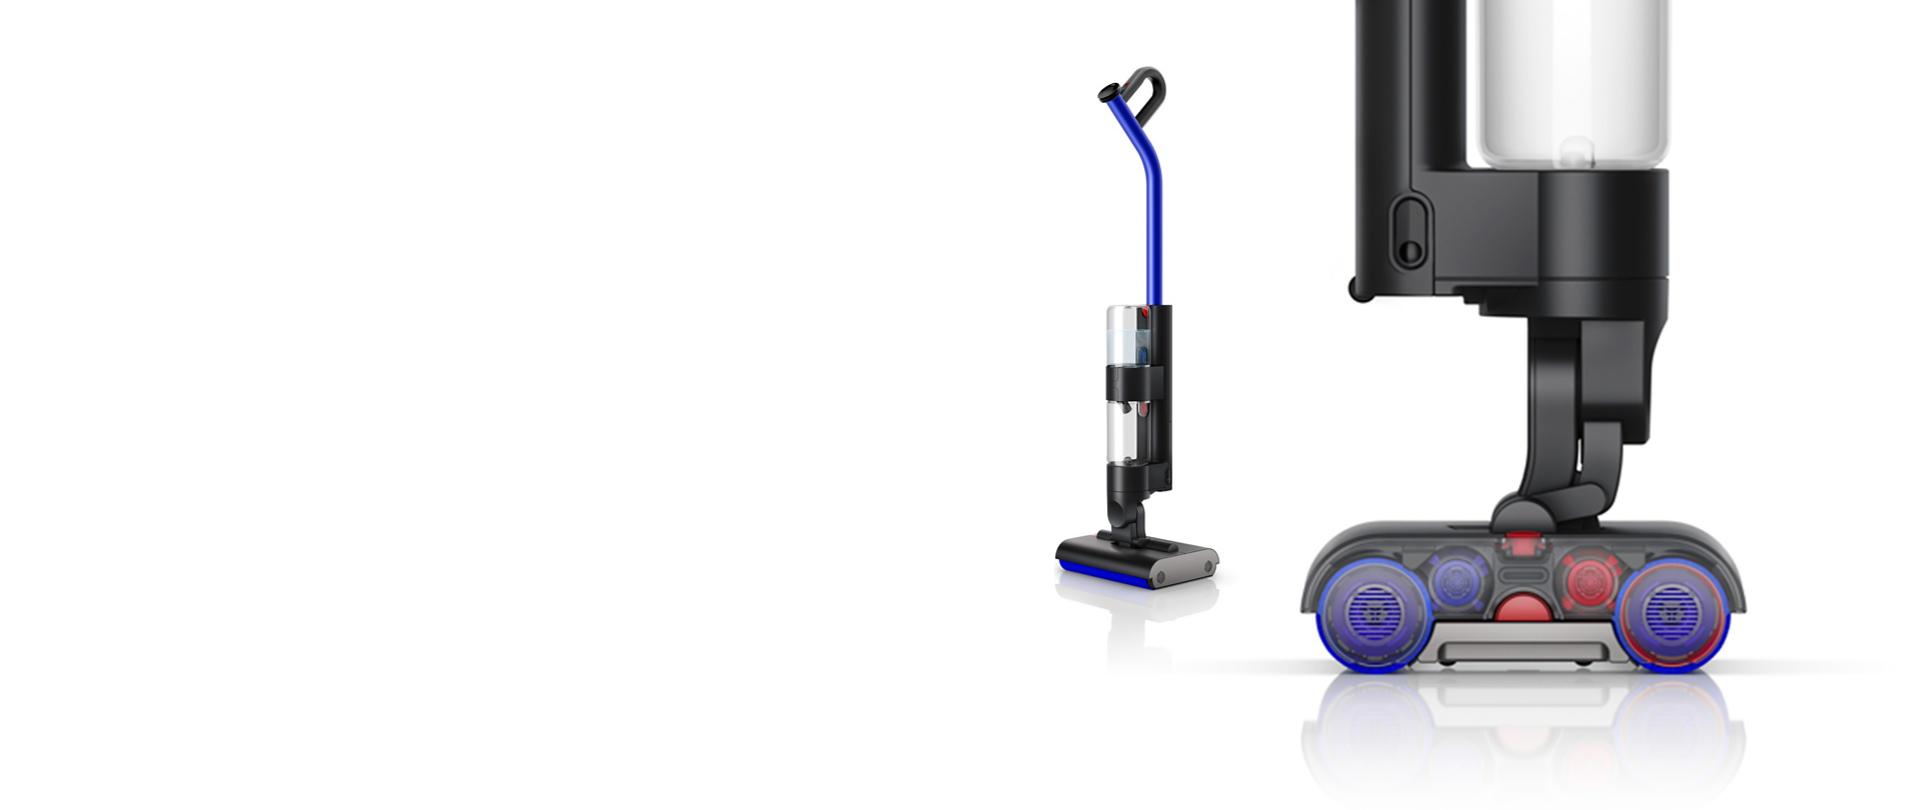
Dyson WashG1™ wet cleaner has counter-rotating motorised rollers – instead of vacuum suction – to separate large debris from liquids. Vacuum motors may also expel air back into the room which could cause odours.
Dyson WashG1™ wet cleaner has 3 modes (levels 1, 2 and 3), plus a MAX setting. Levels 1 and 2 are for dry dust, hair and fibre and low viscosity spillages. Level 3 is for dry debris and high viscosity spillages. MAX setting is for stubborn dirt. You can switch between modes using the blue button.
No. Vacuuming is not necessary, as Dyson WashG1™ wet cleaner picks up and separates both wet and dry debris, and hair.
Dyson WashG1™ wet cleaner is Dyson’s first dedicated wet floor cleaner for hard floors, picking up both wet and dry debris. You will need a vacuum cleaner for your carpets, upholstery, mattresses, pet beds, countertops, and inside your car.
It can clean everything from fine dust, small debris and hair, to splashes and spillages, all the way to heavier spillages such as ketchup, syrup and oil mist – even stubborn stains such as dried food and toothpaste.
The Clean water tank has a 1 litre capacity whilst the Dirty water tank has a 0.8 litre capacity.
Up to 290sqm, based on Dyson internal calculation with no repeated cleaning on the same area, with 0.5m/s speed. Actual area coverage may vary depending on habits and floor types.
The Dyson WashG1™ doesn’t need to be cleaned manually after every clean. Instead, we recommend using the Self-clean function after each use. We also recommend cleaning the Dyson WashG1™ manually after every three uses.
Place the machine on the dock after each clean, to store and charge, ready for next time.
The Dyson WashG1™ wet cleaner is our first dedicated wet floor cleaner, engineered to wash hard floors. The Dyson V15s Detect Submarine™ wet and dry vacuum and Dyson V12s Detect Slim Submarine™ wet and dry vacuum are Dyson’s multifunctional vacuum cleaners, which include a precision-engineered wet roller head, dust illumination and anti-tangle technologies.
Turn the machine on and off via the red power button underneath the UI screen.
No, Dyson WashG1™ wet cleaner is Dyson’s first dedicated wet floor cleaner for hard floors, picking up both wet and dry debris.
Apart from the charging dock, the Dyson WashG1™ wet cleaner has everything you need onboard. No additional accessories.
No, this machine is engineered for hard floors only.
